Contributing
This page walks you through how to contribute to the development of YSE_PZ.
We want your help. No, really. There may be a little voice inside your head that is telling you that you’re not ready to be an open source contributor; that your skills aren’t nearly good enough to contribute. What could you possibly offer a project like this one?
We assure you - the little voice in your head is wrong. If you can write code or documentation, you can contribute code to open source. Contributing to open source projects is a fantastic way to advance one’s coding and open source workflow skills. Writing perfect code isn’t the measure of a good developer (that would disqualify all of us!); it’s trying to create something, making mistakes, and learning from those mistakes. That’s how we all improve, and we are happy to help others learn.
Being an open source contributor doesn’t just mean writing code, either. You can help out by writing documentation, tests, or even giving feedback about the project (and yes - that includes giving feedback about the contribution process). Some of these contributions may be the most valuable to the project as a whole, because you’re coming to the project with fresh eyes, so you can see the errors and assumptions that seasoned contributors have glossed over.
Note
This text was originally written by Adrienne Lowe for a PyCon talk, and was adapted by YSE_PZ based on its use in the README file for the MetPy project and Astropy project.
General workflow
The normal develop workflow of YSE_PZ is to branch off develop, commit and push changes, and then merge to the develop branch with a pull request. Finally, after the pull request has been approved and your changes have been merged you can delete your branch.
Starting from scratch, the typical development workflow would be the following. Clone the YSE_PZ git repository
git clone https://github.com/davecoulter/YSE_PZ.git
Once in the YSE_PZ directory, checkout the develop branch.
git checkout develop
Create your own branch with the following naming convention.
git checkout -b develop-<your first name>-<one or two word description of what you are doing>
For example, if you were called Joe and wanted to contribute to documentation on YSE_PZ your branch might be called develop-joe-docs. Then set the remote of your new branch to github.
git push --set-upstream origin <your branch name>
This means you can push changes to github where they can be saved before you are ready for a pull request. Now you can make your changes and additions to the code and push changes to github.
Next go to to the YSE_PZ github repository page and go to the pull requests tab.
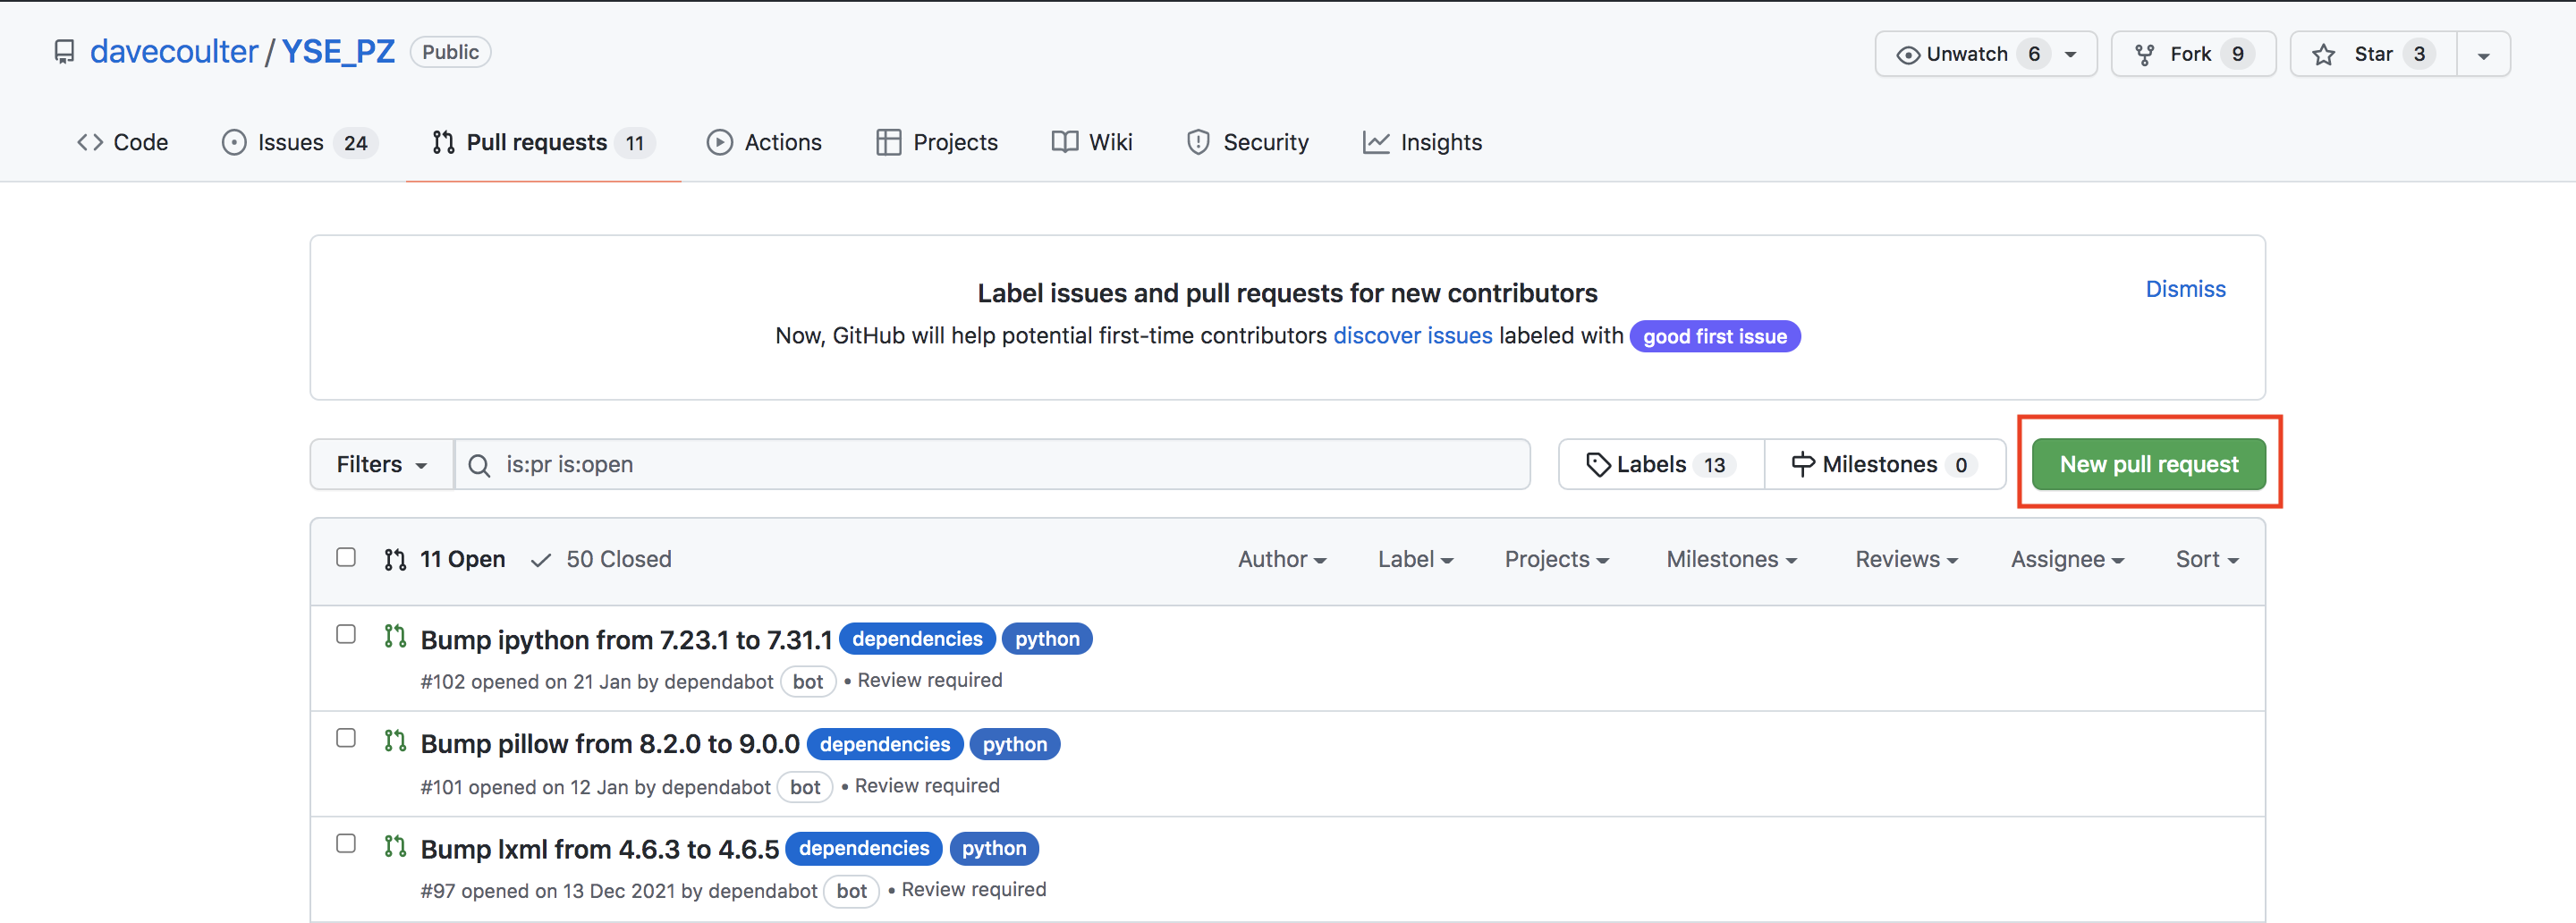
Then open a new draft pull request.
Create a pull request with your branch and develop.
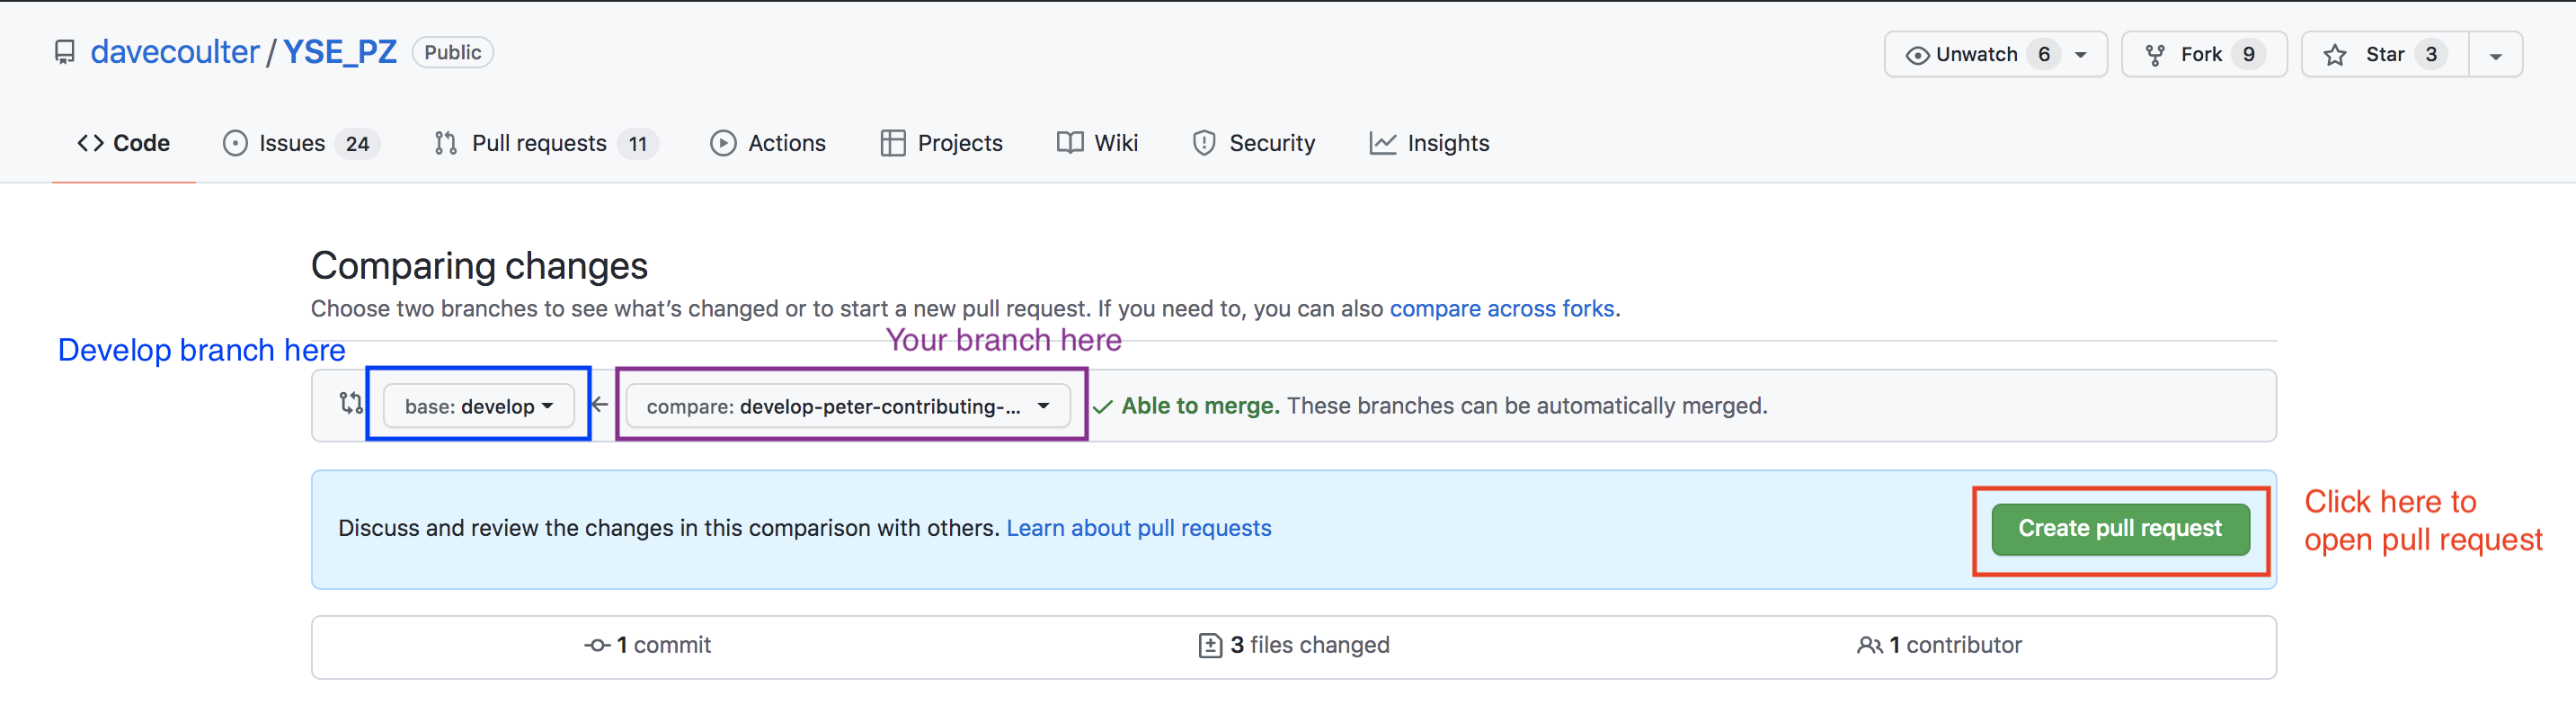
Fill in the title and describe what you are trying to do in the description, and open a draft pull request.

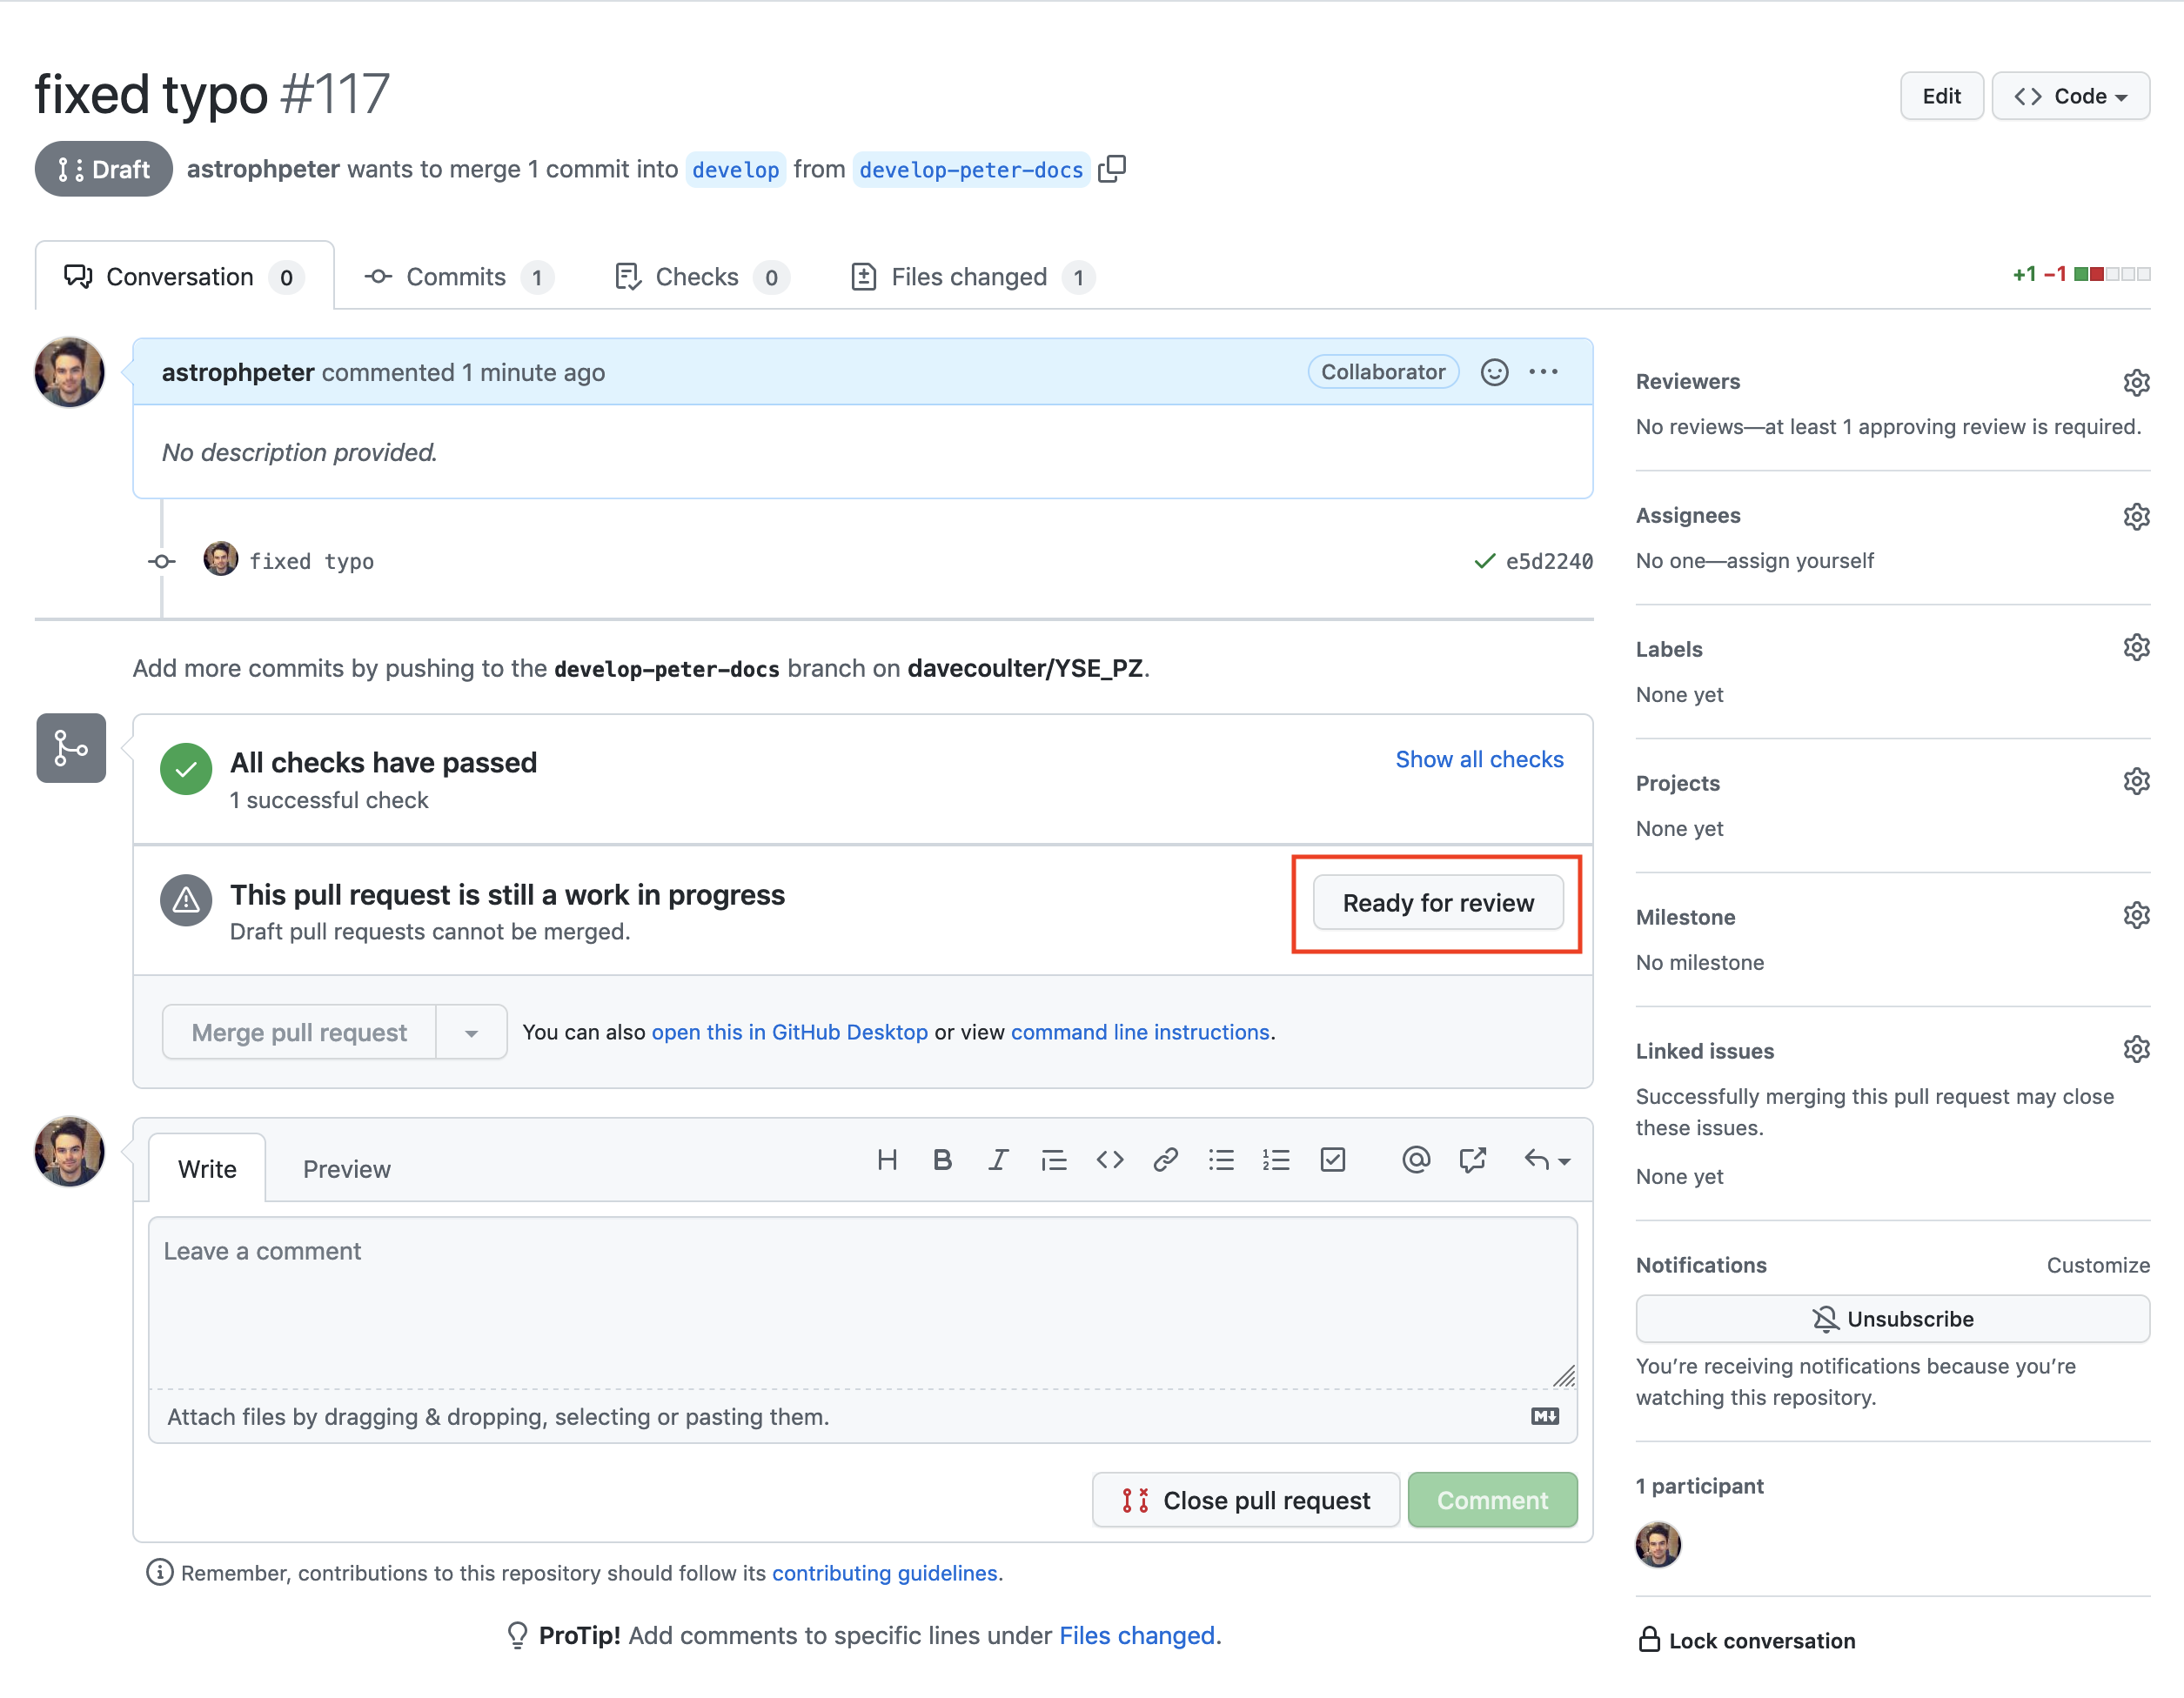
As you commit and push changes to your branch on github they will show up in the draft pull request. When you are a happy for you changes to be reviewed and then eventually merged into develop, click ready for review.
Your code will now be reviewed and when it is accepted it will be merged into develop. After your branch has been merged, delete the branch from your local repository.
git branch -d <your branch name>
Then delete the branch from Github.
git push -d origin <your branch name>
Documentation
Contributing to the documentation is probably the best place to start. Writing and building the documentation locally is straightforward. For most documentation contributions you’ll be working inside of the docs/ directory. The documentation is build using sphinx and you should check our their documentation for the basics.
In order to build the docs and view them your browser locally you will need to install a couple of packages. To do this we recommend using a conda environment. Once you have installed conda, go head and create a new environment.
conda create --name yse_pz_docs
The activate the environment.
conda activate yse_pz_docs
Then pip install the documentation requirements.
pip install -r docs/requirements.txt
Then go into the docs/ directory and if all is working you should build the documentation with
make html
After you have run the build command open the docs/_build/html/index.html file in your web browser and you should see the YSE_PZ documentation. As you make changes and additions to the documentation you can build it locally and check that nothing breaks.
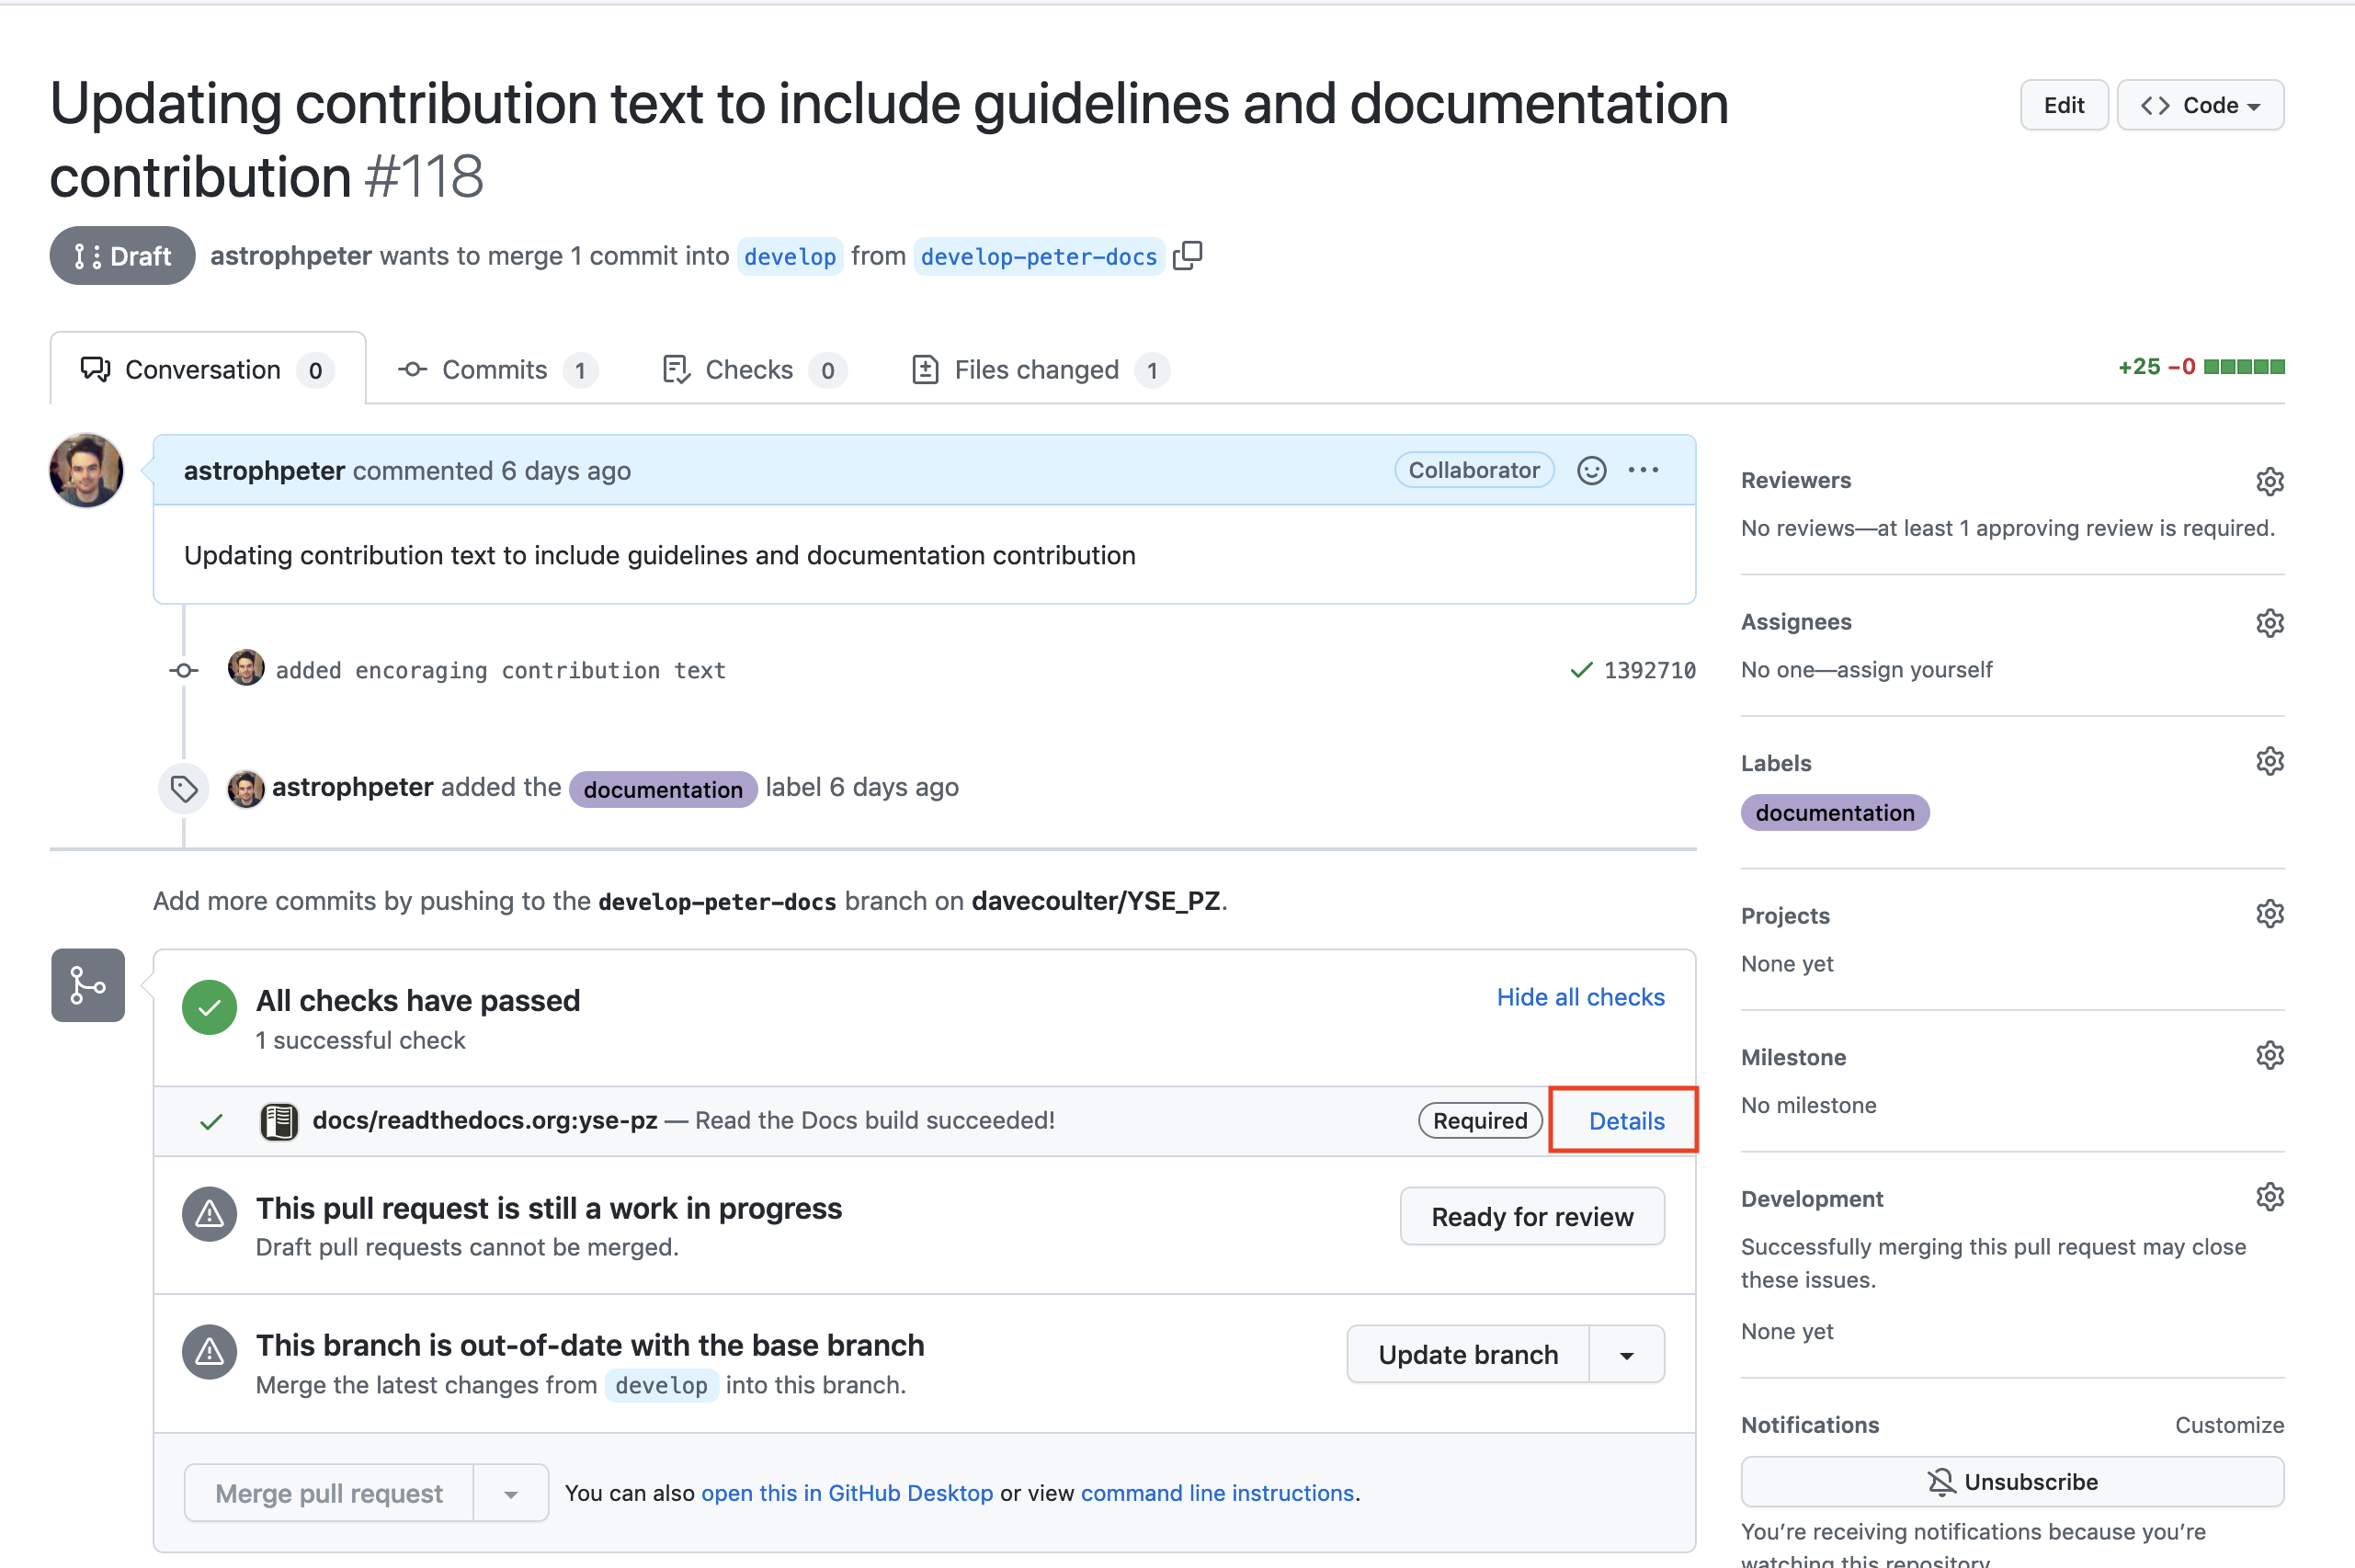
When you push changes to a draft or open pull request, github will build a preview of the documentation automatically for you. You can see this preview here.
Updating dependencies
If you need to add a new package to YSE_PZ or update an existing one you have to
check whether the dependency update will work with all of YSE_PZ’s currently
installed packages. The way you do this is to add your proposed dependency to the
docker/requirements.web.dev file. For example if you wanted to have numpy
version 1.22.3. the contents of docker/requirements.web.dev would be
numpy==1.22.3
To test if your proposed dependency will work, you need to spin up a dev docker
container which will attempt to install your proposed dependency and then
run YSE_PZ. To do this run the command, whilst in the YSE_PZ/docker/
directory,
docker-compose -f docker-compose.dev.yaml up --build
If this throws no errors, and YSE_PZ runs without issue, then the dependency update
was successful. Running this command creates a local image called,
local/yse_pz_web:dev. If you want to run with a PyCharm debugger
attached, you can temporarily point the image property of the web service
to this new image name. At this point you can check your
docker/requirements.web.dev into a pull request into develop.
Eventually when your code gets pull into master and deployed your dependency
will be absorbed into the latest YSE_PZ docker image.
ONLY CHECK-IN the requirements.web.dev. DO NOT CHECK-IN changes to the
docker-compose files.